

Quick Start
Create a warehouse World, watch its simulation in Theater, then stop and deactivate it. This first exercise walks through the whole life of a World; driving its robots from a Station comes next (Next: Connect a Robot System).
Before You Start
- Sign in to Sodero Cloud with access to create a project and edit its files.
- In the workspace menu, open Billing & Usage and check the credits left and Systems and Worlds running at once.
- Download jackal_warehouse.zip, the example scene with a Jackal and a Dingo. Keep the ZIP intact. It includes the accompanying Clearpath license notice.
Credits: an active World uses credits until you deactivate it, and Studio and Theater sessions can use credits while they are open. Billing & Usage shows your plan's rates (Billing and Usage).
Step 1: Create the Project and World
- In Projects, click + Project.
- Enter
Warehouse Demo, keep Restricted, and click Create. - In the project, click New file, choose Robot World, and click Next.
- Enter
warehouseas the File Name, then click Create.
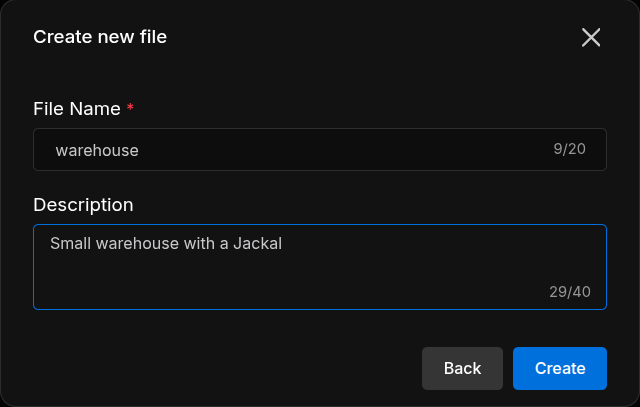
The World appears as Inactive. Its Studio link opens the editor.
Step 2: Import and Save the Scene
- Click Studio on the World row. Choose RTX Real-time or WebGPU, then click Open Cosmic Studio. Studio opens in a new tab. Keep the Sodero Cloud tab open while you work: Studio uses it to keep you signed in and to read library files.
- Open the logo menu and choose World › Replace scene….
-
On This PC, select
jackal_warehouse.zip, click Replace, and confirm replacement.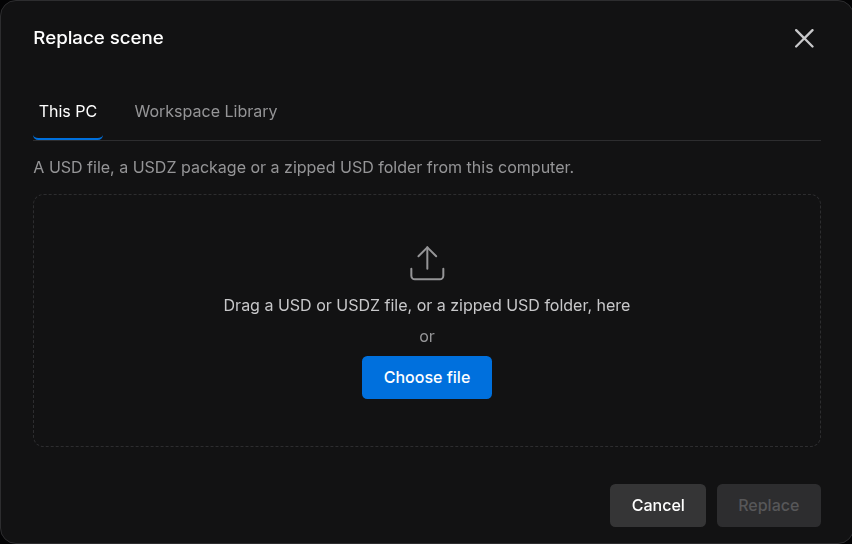
The Replace scene dialog -
Check that the Hierarchy shows
dingo_d,jackalandwarehouse. - Click Save now in the left rail and wait for Saved just now.
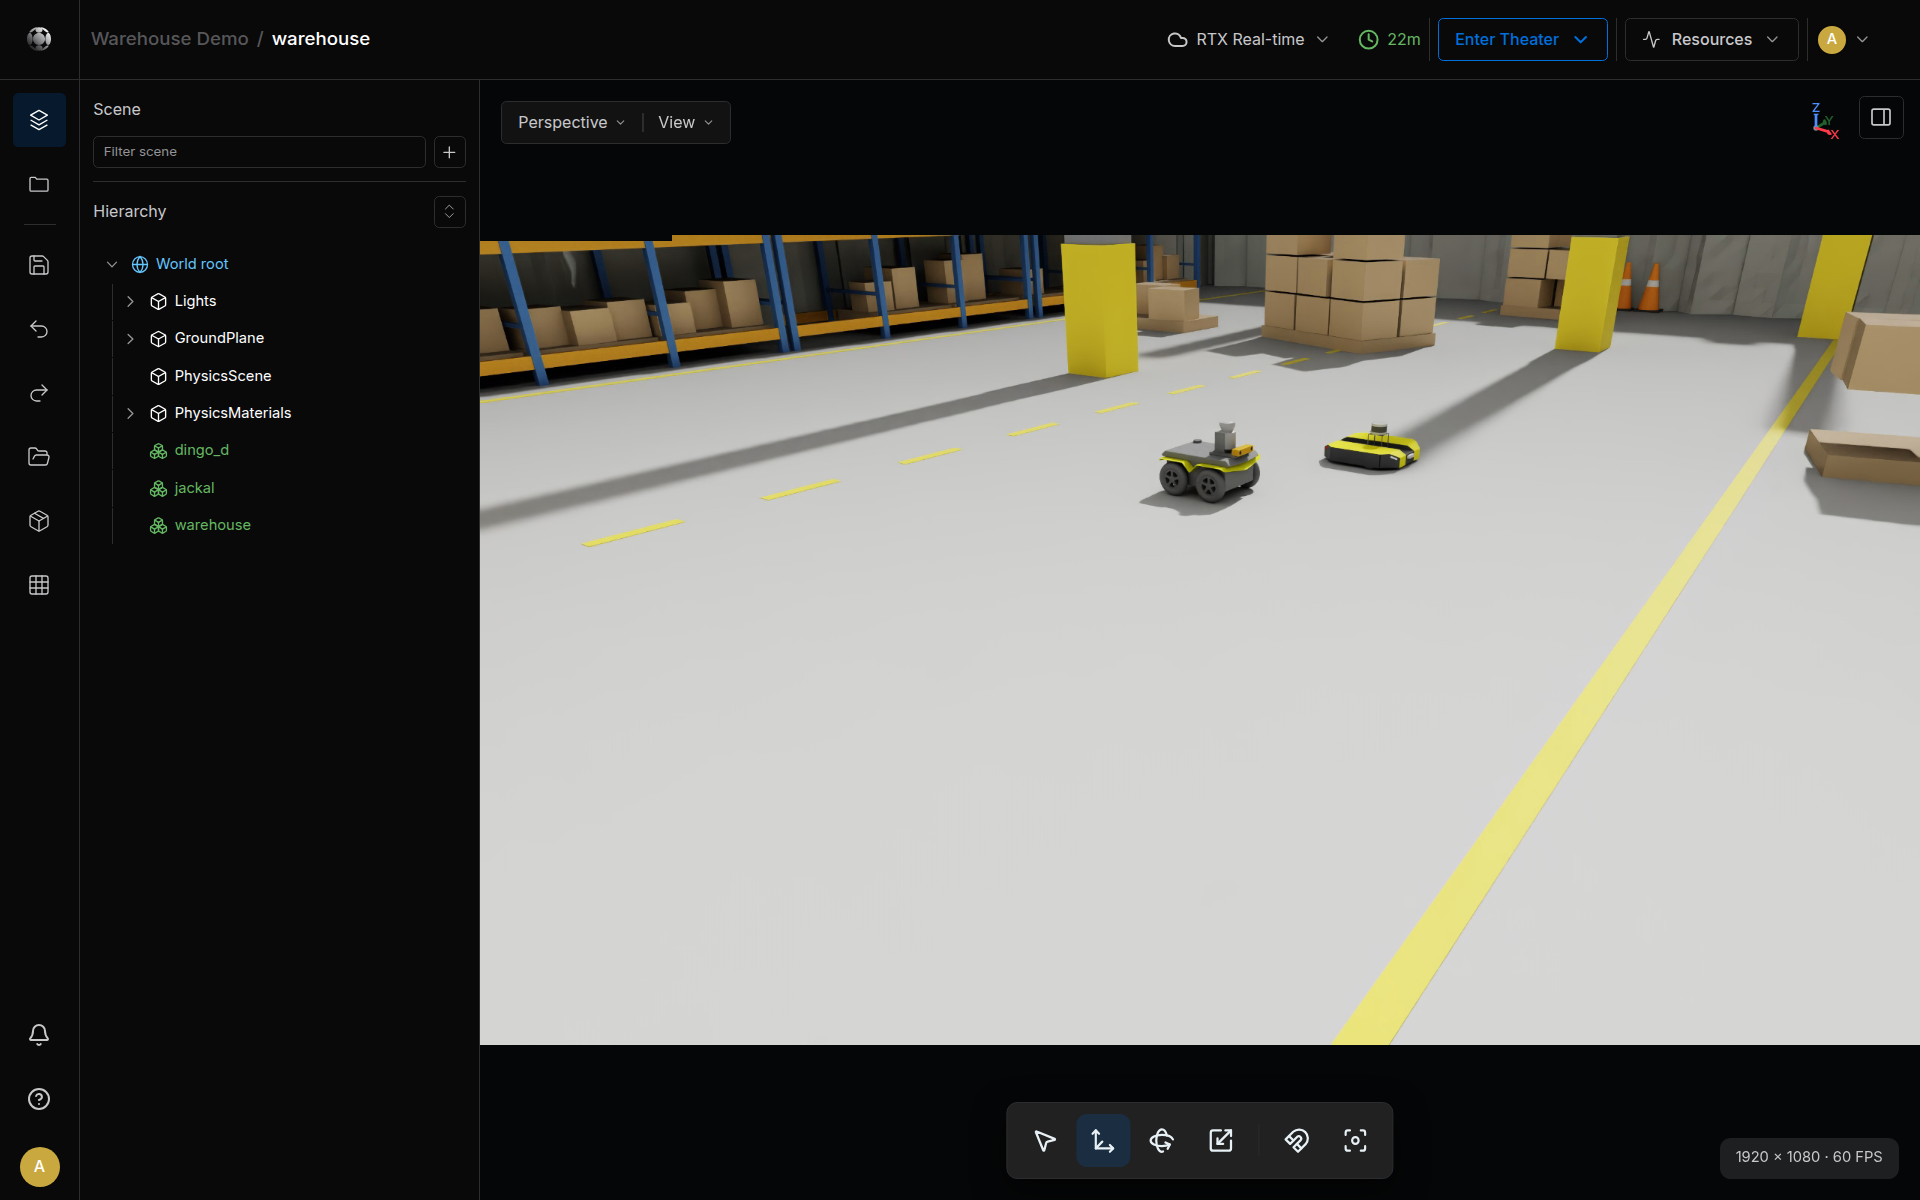
Choose Back to Sodero Cloud from the logo menu to close Studio.
Step 3: Activate the World
On the project page, set the World's Activation to Active. Wait until Activating changes to Active. Activation prepares the environment; it does not start the simulation.
Step 4: View and Run the Simulation
- Click Theater, choose a rendering mode, and click Open Cosmic Theater.
- Wait for Ready.
- On the project page, set the World's Running state to Running. You can also click Start Theater in Theater when you control it: the first person with edit access who opened Theater controls Start Theater and Stop Theater (Start and Stop).
- Select jackal in Scene assets; double-click the row to bring the camera to it.
The readout at the bottom of the viewport shows FPS, the rate at which your view is drawn, and Physics RTF, the real-time factor of the simulation: simulated time divided by wall-clock time. Near 1.00, the simulation keeps up with real time. The robots stay where they are until a Robot System drives them.
Step 5: Stop and End the Session
- Set the World's Running state to Stopped. Stopping resets its pose and clock; it is not a pause that preserves progress.
- Set Activation to Inactive and wait for deactivation to finish.
- Close the Theater tab. In Billing & Usage, a green dot under Recent runs marks anything that is still active.
A stopped World stays active and keeps using credits until you deactivate it. Deactivating a World does not deactivate the project's Robot Systems: deactivate each file you activated.
Next: Connect a Robot System
To drive the Jackal of this World, add a Robot System to the same project. Download its two documents first: jackal.gw, the simulation gateway document, and jackal.sddm, the mobile robot document.
- In the project, create a Robot System named
jackaland open it with Station · Edit (Create a File). In the Store, installsodero.actuator_gateway,sodero.mlcandsodero.strider(Apps and Packages). - Add a Gateway node that runs
sodero.actuator_gatewayand name itsodero.actuator_gateway.jackal(Add a Node). In its inspector, click Upload under Gateway project and importjackal.gw(Documents and Settings). - Under the gateway document, set Robot name to
jackal, the name of the robot's prim in the World.jackal.gwalready fills it in (Name the Robot). - Add a Controller node that runs
sodero.mlcand name itsodero.mlc.jackal. Click Upload under document (robot) and importjackal.sddm. Connect the node'sservo_linkport to the gateway (Connect Ports). - Add
sodero.striderand connect itsmobile_baseport tosodero.mlc.jackal(Set Up the Nodes). - Activate and run the World again (Steps 3 and 4). In the Station, click Go live, then Start all nodes (Start and Monitor Nodes). Right-click
sodero.strider, open Strider and drive the Jackal (Strider).
For other robots, use documents made for this Station release, such as those in Sodero Assets (Compatibility).