

Stellar X
This guide takes you from unboxing and hardware assembly to the first network connection between Stellar X and your PC.
1. What's in the Box
Check that your package includes the following components. If anything is missing, contact our support team.


2. Device Overview
The network and power ports are on the rear panel.

| Port | Initial setting | How to change it | Use |
|---|---|---|---|
| 1. Eth1 | Static address 10.0.0.1, subnet mask 255.255.255.0 |
On the Network Settings page: DHCP or another static address | First connection with a cable from your PC; afterwards your office or lab network |
| 2. Eth2 | DHCP | Not changed by the Network Settings page | A router or switch that assigns addresses by DHCP |
| 3. EtherCAT Out | No IP address | — | EtherCAT master output. Connect it to the IN port of the first EtherCAT drive. |
| 4. 24V DC In | — | — | Power input |
3. Hardware Setup & Power On
Follow these steps in order to prevent electrical damage.
-
Prepare the Adapter: Connect the power cable to the 24V power adapter. Do not plug it into the wall outlet yet.
-
Connect to Stellar X: Insert the adapter's output cable into the 24V DC In port on the unit.
To prevent electrical arcing (sparks) or connection issues, always connect the cable to the Stellar X unit first, and then plug the power adapter into the wall.
The connector has a small guide notch inside. If it doesn't slide in easily, gently rotate the cable until the notch aligns with the port.
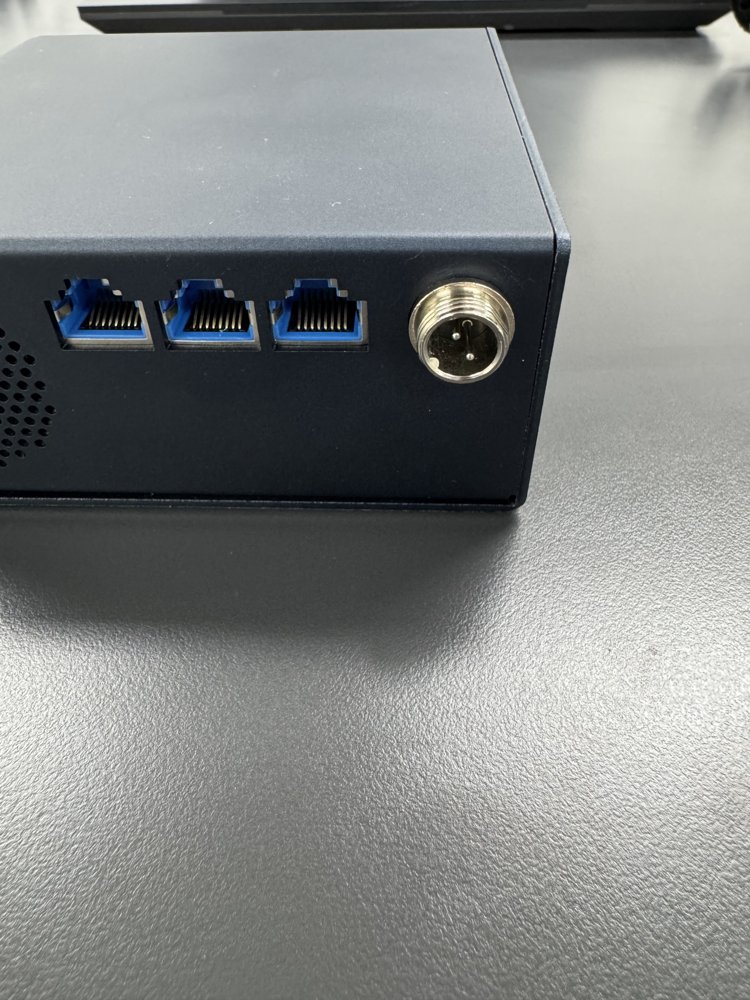
Aligning the connector notch -
Secure the Connection: Once the connector is fully inserted, hand-tighten its metal nut so that it stays locked in place.

Securing the locking nut -
Power Up: Plug the power cable into a wall outlet. Stellar X powers on automatically and takes about 1 minute to start up.
4. Network Configuration
Your PC must be on the same subnet as Stellar X.
-
Physical Connection: Connect an Ethernet (LAN) cable to Eth1 (Port 1) on the Stellar X unit and the other end to your PC's LAN port.

Connecting to Eth1 -
Configure Your PC: Eth1 starts with the static address
10.0.0.1, so set your PC to a static IP in the same subnet (e.g.,10.0.0.2).Avoid using
10.0.0.1for your PC, as this will cause an IP conflict.-
For Ubuntu Users:
- Go to Settings > Network.
- Click the gear icon next to your wired connection.
- Select the IPv4 tab and choose Manual.
- Set Address:
10.0.0.2/ Netmask:255.255.255.0. - Click Apply.
-
For Windows Users:
- Go to Settings > Network & Internet > Ethernet.
- Find IP assignment and click Edit.
- Select Manual, toggle IPv4 On, and enter:
- IP address:
10.0.0.2 - Subnet mask:
255.255.255.0
- IP address:
- Click Save.
-
-
Verify the Connection: Open your preferred web browser (Chrome, Edge, etc.) and type the following into the address bar:
http://10.0.0.1 -
Success! If Stellar Station appears, you are ready to start your project. Continue with the Quick Start.
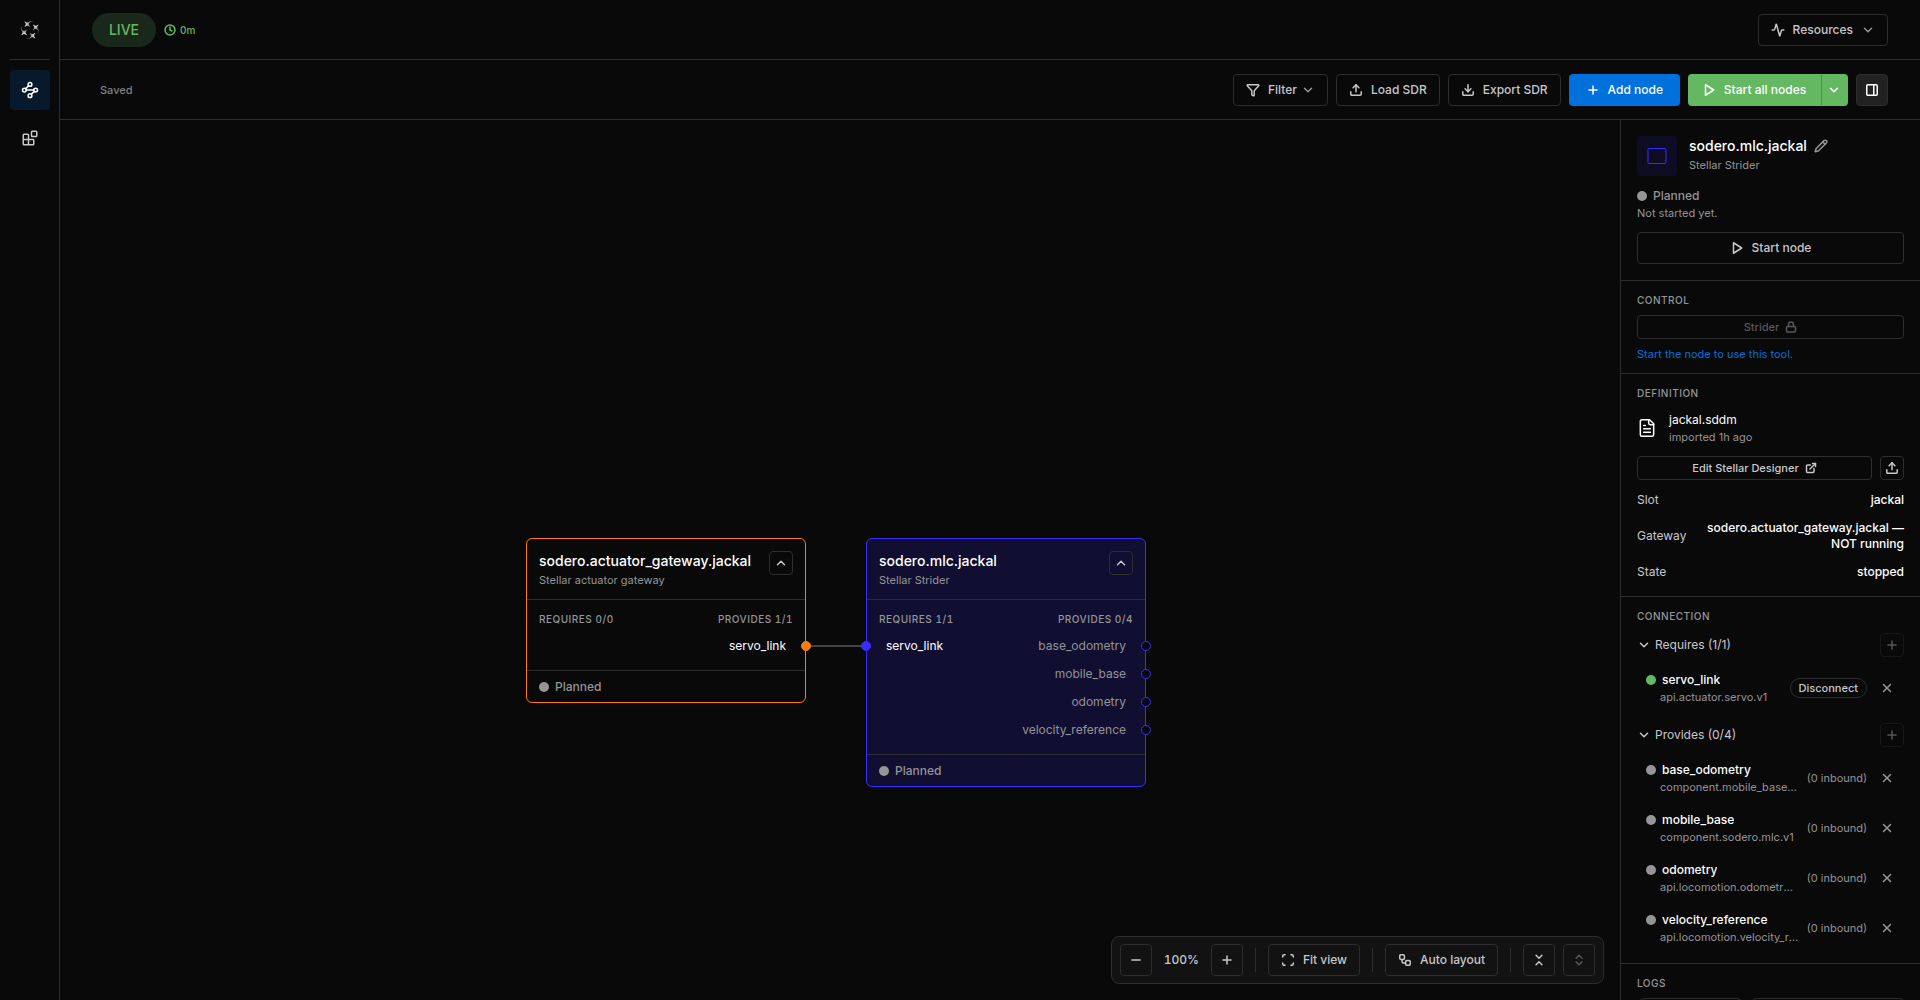
Stellar Station with an example robot system To change Eth1's address or to connect it to your office network, use the Network Settings page on port 3000. The rest of this documentation uses the example address
192.168.60.18for Stellar X; replace it with your controller's address, for example10.0.0.1while you use the direct cable.